The Introduction Of Crane Nondestructive Testing
During the welding production of crane beam, affected by welding technology, temperature, humidity, etc., the parts after welding must be inspected to ensure the welding quality. Under the premise of ensuring the quality of products, nondestructive testing is the two commonly used testing methods.
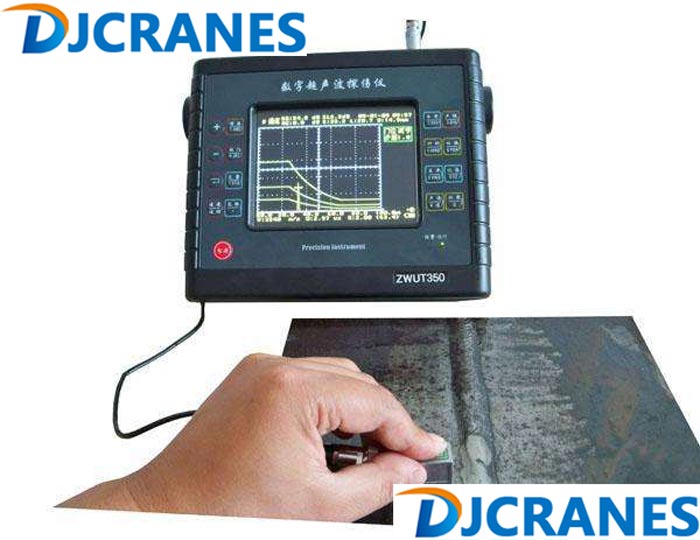
1. Analysis of two kinds of nondestructive testing
(1)X-ray nondestructive testing.
X-ray detection has the characteristics of clear image and permanent preservation, so it is widely used. It is commonly used in the welds of finished piece hook, hook piece and hanging splint, the welds of main stressed structural parts of special lifting appliance for container, the butt welds of main beam flange plate and web plate of Overhead Crane and Gantry Crane, the butt welds of upper and lower cover plates and web plate of main beam, the butt welds of inner wall of II beam, the assembly welds of bridge and the butt welds of main steel structure of tower crane Sewing, etc. Generally, the method of radiography is used, which means that y-ray or y-ray will interact with the object in the process of penetrating the object, so it should be absorbed and scattered to weaken its strength. If there are defects in the local part of the object to be penetrated, and the physical attenuation coefficient of the defect is different from that of the test piece, the transmission ray intensity of the local area will be different from that of the surrounding area. Different recording information can be generated on the film under the photosensitive effect of the ray. The position and size of defect plane projection can be determined by X-ray detection, and the defect plane image can be obtained and the nature of defect can be determined accordingly. The defect image can be directly obtained by negative recording, and can be saved for a long time. The nature, quantity, size and position of defects can be accurately determined by observing the negative film.
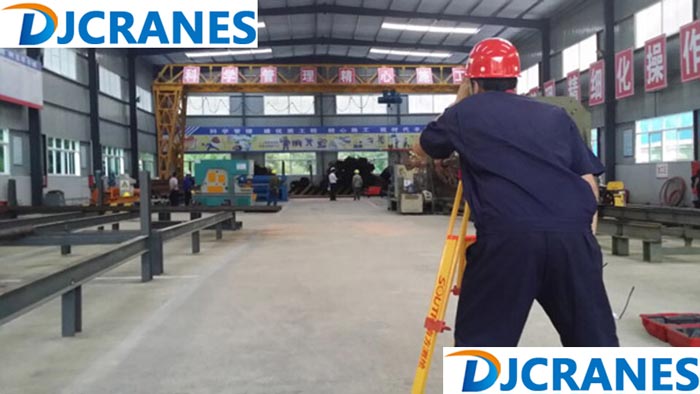
(2)Ultrasonic testing
Ultrasonic testing is mainly based on the propagation characteristics of ultrasonic in the crane’s workpiece. For example, the energy of the acoustic wave will be lost when it passes through the material, and the internal defects of the workpiece will be detected by the reflection and refraction characteristics when it meets the interface of two kinds of media with no acoustic impedance. It has the following four advantages:
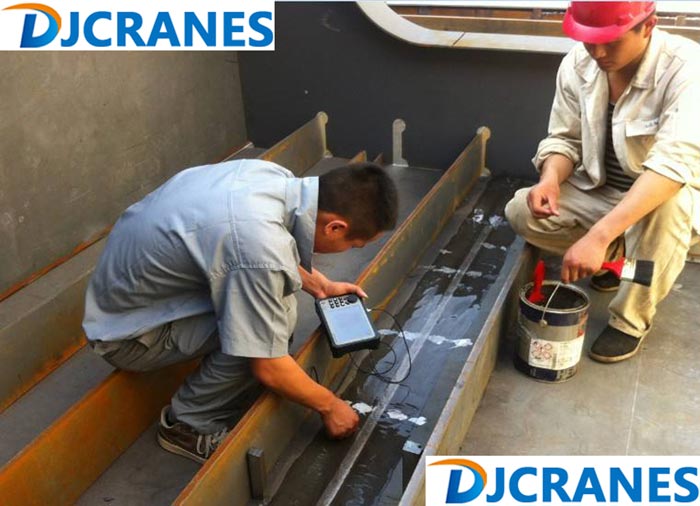
① With strong penetrability, it can detect the internal defects of workpieces with large thickness range. For example, for metal materials, thin-walled pipes and plates with a thickness of 1-2mm can be detected, and steel forgings with a length of several meters can also be detected.
② Defect positioning is more accurate.
③ The detection rate of area defect is high.
④ With high sensitivity, it can detect defects with small internal dimension of workpiece,
2. Comparison of two detection methods:
(1) Equipment carrying. The general digital ultrasonic testing equipment is smaller and lighter than the ray testing equipment in volume and weight, so it is more convenient in the actual operation.
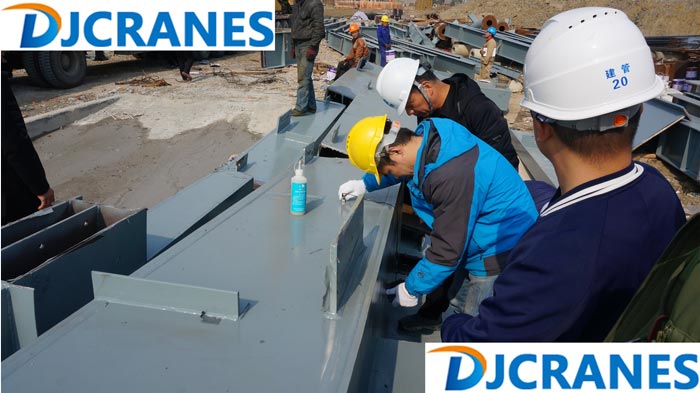
(2) In terms of the maximum detection thickness of the detected workpiece and the difficulty of the operation of the detected part. The thickness range of ultrasonic inspection workpiece is from mm to several meters. The higher the tube voltage of the X-ray machine is, the more expensive the price is, and the more heat is generated in the work, the higher the requirements on the use environment, interval time, training machine, power supply fluctuation, whole process cooling and other forces. In practical testing, the thickness of steel plate detected by X-ray is generally used within 25 mm, which is more common and economical.
(3) In terms of defect detection effect. Among the defects of the butt weld of the main stressed components of the crane, the cracks, meter penetration and non fusion defects will significantly reduce the load-bearing accumulation of the components, and it is easy to form sharp notches in the base metal, so the stress is highly concentrated, and it is easy to expand and cause material damage. Therefore, the above three defects are not allowed in the butt weld of crane. " In terms of the detection rate of the above three defects, ultrasonic is better than ray. Slag inclusion and porosity are difficult to avoid in the welding process, and have little effect on the stress of the base metal.
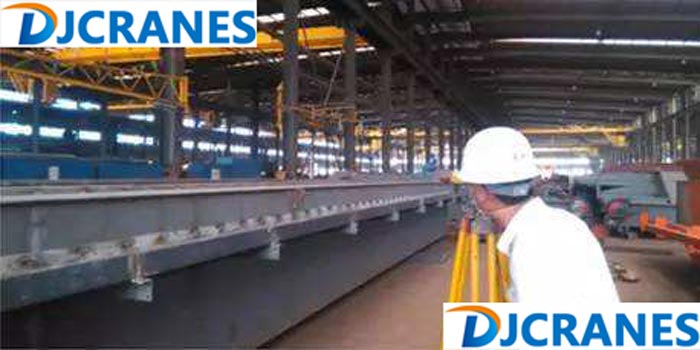
(4) In terms of environmental protection and impact on human health. The X-ray or y-ray produced by the ray source is used to penetrate the object as the detection method. In the detection site, it is difficult to avoid radiation leakage, pollution and damage to the environment and human health. The ultrasonic wave is based on the propagation principle of sound wave in the object, which is basically harmless to the environment and human body.
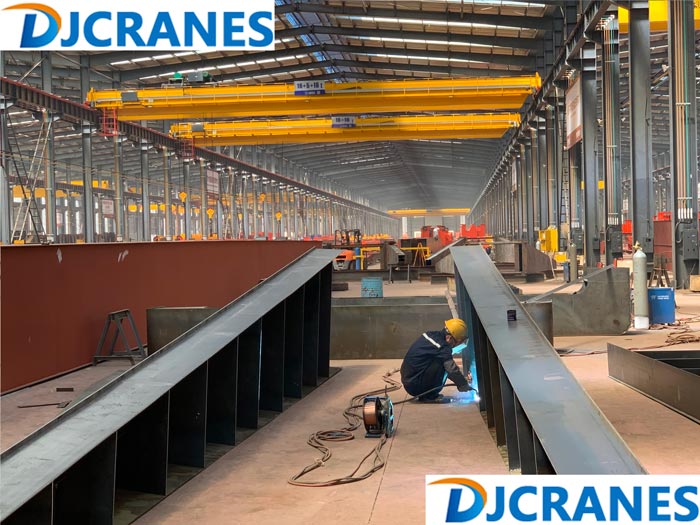
As one of the top three crane manufacturers in China, Dejun crane factory adopts a new type of robot automatic welding to greatly improve the welding quality and efficiency. Each component must go through a strict inspection process and be signed by the person in charge of the process before entering the next process. It can guarantee the product quality and the delivery time at the same time.
 info@dejunindustry.com
 +86 13721448067


